With the holidays right around the corner I thought now would be a great time to do a little "How-To" Baking Post. Easy right...? Nope, so I decided to do 3! Today's how-to baking bit is easy, relatively quick and the kids (even the littler ones) will love it! I have named it Mr. Melty Snow Dude.

First, start out in your grocery store cake/cookie isle and pick a flavor!
You will need:
- Cookie Mix
- White Icing (choose a flavor :) )
- Black Icing
- Orange Icing
- Marshmallows
- Cookie sheet
- Spatula
I picked pumpkin cookies and cream cheese icing and they came out amazing!
When you get every thing home start by baking the cookies. Bake them with the normal directions but remember they are going to be Melty Snow Dudes so they do not have to be round :)
Put them in the oven and bake! While they are baking, use your time to sample... I mean cut the marshmallows into halves.
Once the cookies come out of the oven make sure you let them cool completely before Icing them. :) It may take a couple bites to make sure they are cool and I assure you, no one will blame you.
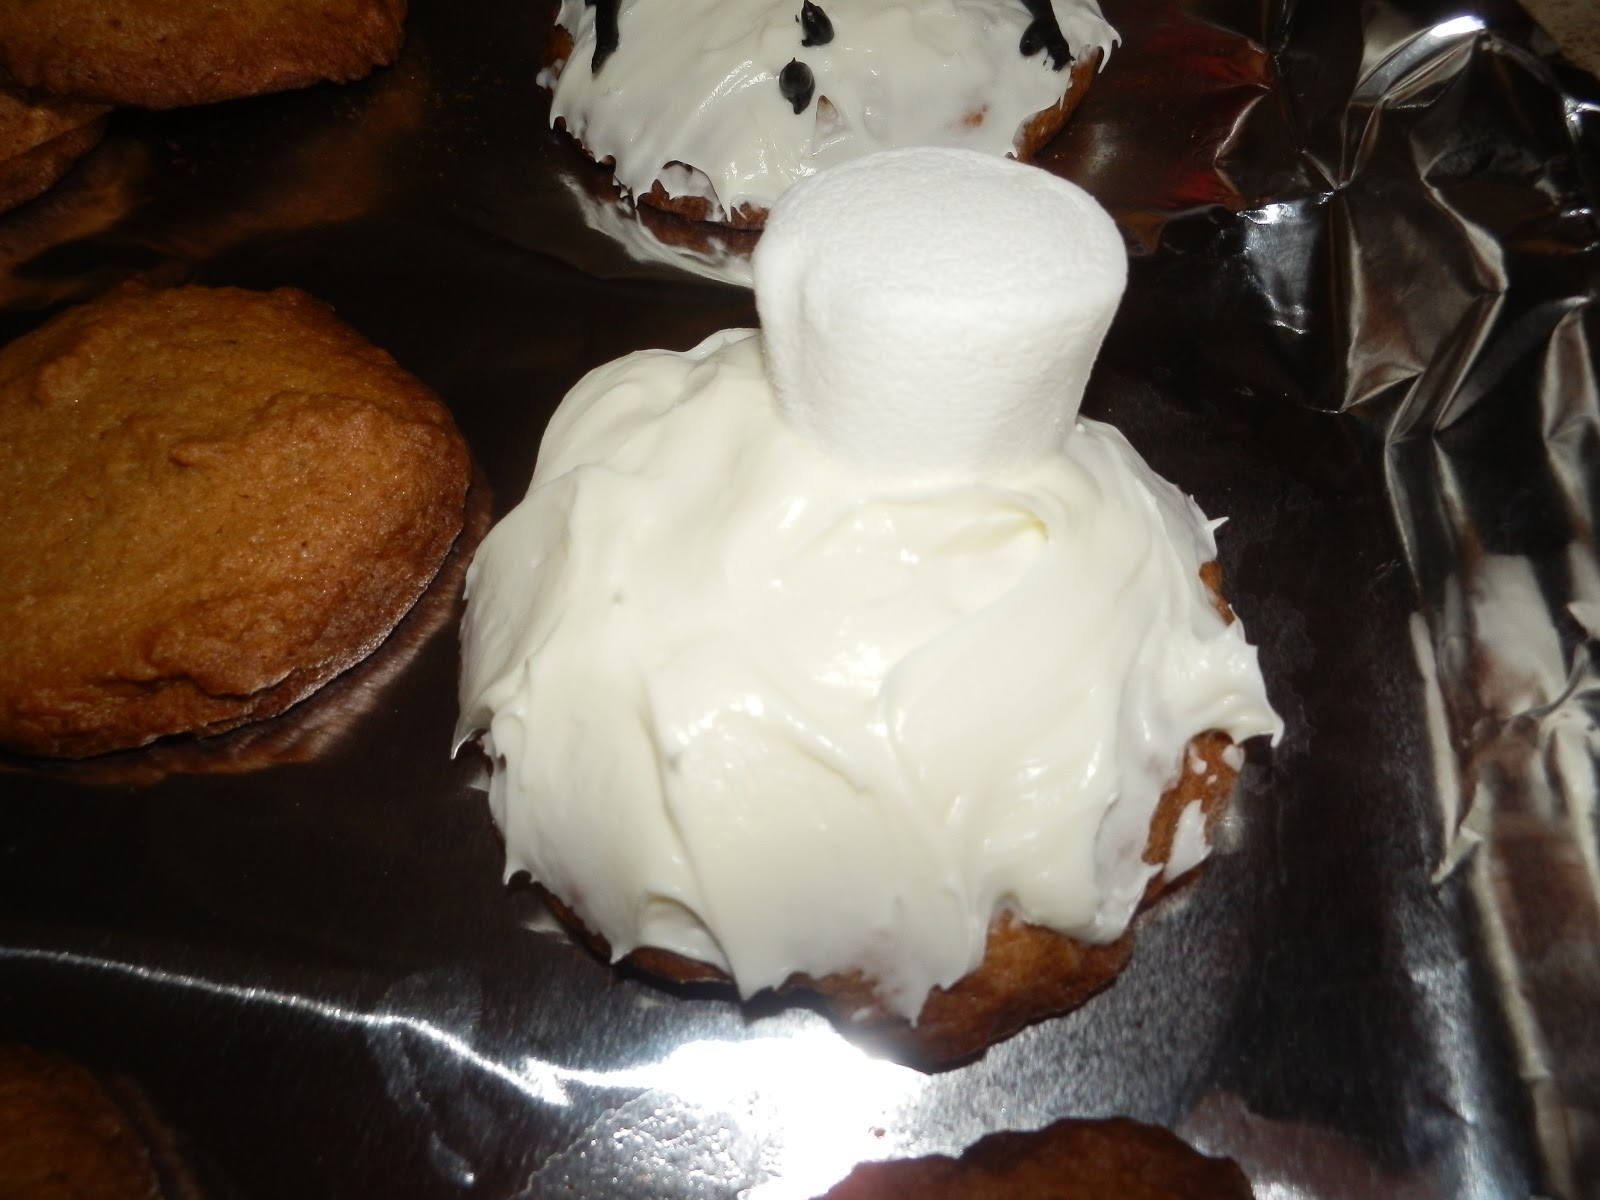
Now it's time to decorate! Use the spatula (I like using the rounded back side. It gives me more maneuverability) to coat the
White Icing on the cookie. It doesn't matter how you do it but I found icing them in a circular pattern made them look more realistic.
Next, add your
Marshmallow head!
Now that you have your basic Melty Snow Dude, time to let the creativity out! Add eyes buttons and arms with the
Black Frosting and don't forget the carrot nose with the
Orange Icing!
When you are finished letting your inner Picasso out, you will have a whole field of awesome Mr. Melty Snow Dudes to take to the office Christmas Party or Dinner at the in-laws! (and his mother thought you were useless in the kitchen. HA!)
I hope you enjoyed this weeks adventure in Holiday Baking! Check back next week for a How-To on Hot Cocoa Gingerbread Houses!

 First, start out in your grocery store cake/cookie isle and pick a flavor!


<3 They look so good!
ReplyDelete